Subscribe

Wednesday 31 December 2014

The Year that was.... 2014

It's been an absolutely awesome year this year. I have achieved so much that I wanted to achieve. Not everything that I wanted but a lot that I wasn't expecting to do.

January started off very strong. I got lots of sewing achieved and made myself a sewing set. 


In February I've started a granny stripe blanket and made a couple of journal covers. I also finished sewing my very first dress.

I spent some time sewing toys and managed to make a number throughout the year to giveaway.

I made myself a craft duffel from a ginger cake pattern.

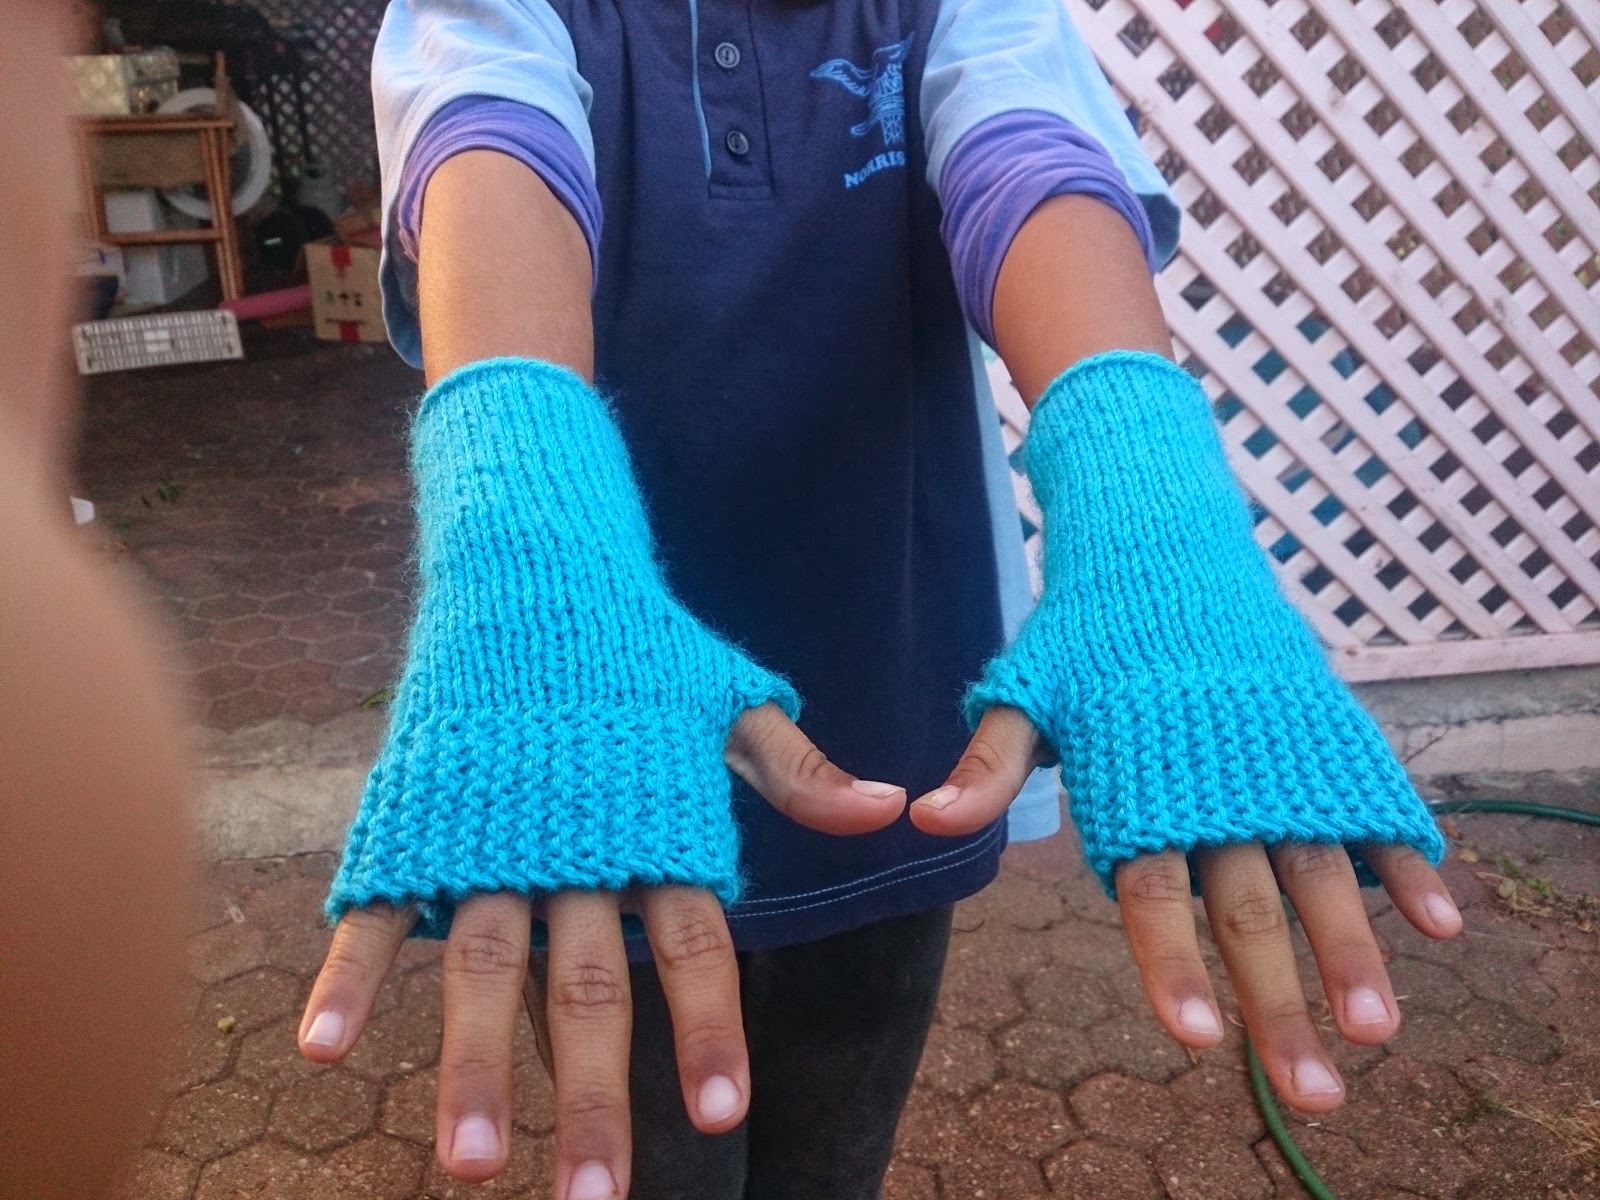
I got hooked on fingerless mittens just before I had to go to New Zealand for band.


In New Zealand I had the most amazing time! I got to play for days and I visited Hobbiton.

 The band this year has been amazing. It's been the best opportunity to meet people and to play some amazing music, and see some wonderful places.


Lana and I won some prizes with our cross stitch at the Mount Gravatt show. 

My crochet blanket continued to grow and get bigger and bigger.

I started making dishcloths in October 

I also made some cute little toys. 


I have made some cross stitch progress though not as much as I would like. But I finished my bookmark from New Zealand and made a tutorial teaching you how to finish them here. 

 Baroque has been making very slow progress but it's progress none the less.

In December I made myself a journal for the coming year. It's so pretty and purple it just makes me so happy to look at and use.

So this is the year that has been. I'd forgotten about some of the wonderful things that I've made in the last year. It has been full of so many achievements.

Happy Stitching,
Caitlin


Friday 26 December 2014

Merry Christmas

Merry Christmas everyone!

Ohk I am a day late techincally but I got it in.

It's been a crazy couple of days as I have been sewing and stitching like crazy when I wasn't present shopping/wrapping for the kids or celebrating a birthday plus Christmas within two days of each other.

We took the chance to visit Seaworld on the Gold Coast for the little man's birthday and it was an awesome day out.

 The polar bears were so cute. This one was having a ball playing with this purple toy. It kept lodging it in the rocks then diving down and rescuing it.


The kids loved the shark tank as well, it was awesome to find all the different fish and to recognise some from 'Finding Nemo'.

Now you may notice a distinct lack of crafting photos. That is because despite spending ages and ages sewing and crafting over the last couple of days I forgot to take a photo of ANY of the finished mug covers or cloths before they were given out. Nor did I get a good photo of my framed cross stitch.

 SO I'm going to have to put out a request to my family to get some photos sent to me of their mug covers so I can show you. I will blame the fact I was still stitching and wrapping at 8:30am Christmas morning when I had to leave in 10 minutes for brunch.

Have a wonderful and safe Christmas season and I'll be back with my regularly scheduled program soon. I leave for camping in two days then I'll be back in the new year.

Happy Stitching,
Caitlin 

Wednesday 17 December 2014

WIP Wednesday 17/12

Well I have been very very very busy this week. I even managed a finish :D Two of them actually.

I have a finished dishcloth. It looks lovely and colourful. This pattern is so easy to do. I talked about stitching this pattern in this post. 

The next finish has been waiting a year and a half. My cousin's wedding sampler is finally finished.
I will get better photos during the day but at the moment I keep forgetting to set up for photos while there is light.


Now before I show you my next project we went for a walk on Tuesday morning to get rid of some energy, It was lovely walking down to the river despite the mosquitos that we had to deal with. We were really lucky to catch a koala in the tree while we were there. 


Now the last project I've been working on is the last of the Christmas gifts. I have been making some mug cozies. They look so pretty. The design is my own just a simple treble crochet, with a colourful edging. I just used hair ties and I'll add a button to tie them around the mugs.


Don't they look pretty. The hair ties I crochetted into the edging so that they don't fall off and I don't have to sew them in.


Happy Stitching,
Caitlin

Monday 15 December 2014

How to make a fabric book cover - Part 1

Here I want to write some instructions on how to make a fabric book cover. Sorry it took me a couple of days more than I intended but with Christmas coming up and trying to get a car fixed to go away time ran away with me.

Of course being me I'm not an expert on this I've only made 4 covers so far though I do have a fair idea of the times I've made plenty of mistakes. Mainly because I'm rushing through just throwing ideas through my head. The main issue has been when I estimate what I think it should be then I have serious problems. All entirely my own making.


You Will Need:

- To have some basic sewing/quilting skills
- A sewing machine
- A mix of fabrics, ribbons and trims that match.
- A book or folder that you want to cover.
- Iron on interfacing that is large enough for the cover to sit on. 

Now I am going to assume you have a basic knowledge of quilting and sewing. That you know to sew right sides together and to use a 1/4" seam.

STEP 1
Now you start with the book/binder you want to cover and place it down on top of some paper and measure it. Here is where I made my first mistake. I got cocky and traced around the book then cut out on that line figuring I could add the extra I needed as things went on. DON'T DO THAT! Trace around your book and then add an inch on the width and the length of your cover. This leaves you with a quarter inch leeway on all sides plus a quarter inch seam allowance.


I didn't allow for that this time around and because I didn't, I didn't manage to catch everything when I stitched it up. It's better to be safe than sorry.

STEP 2

Now is where I hope you have a basic understanding of quilting. I like to make crazy quilted journals and they are so much fun to make. You also don't have to measure anything you just keep adding on until it's the right size.

A couple of rules to follow:

1. Sew right sides together then press seam to one side.

2. As you build up the pattern you need to sew the whole length of the side that you're sewing onto. If that means piecing parts before sewing you may have to.

see below:

The bits don't have to be perfect the idea is not to make it all perfect. You can see in the photo below that the edges aren't lined up perfectly and that is alright it gets sewn so that it looks very neat.


Also as you can see here below the bottom row needs to be pieced separately then sewn onto the whole piece.


3. If you're adding ribbons onto a small piece then make sure you sew them in when you do the seams. If you are adding large pieces on then you can sew them at the end.

4. Feel free to fussy cut your fabric like I did for the trumpet above or use pieces with embroidery like I did for my first book cover with the kangaroo.

See Below:


Keep sewing until it is as large as the piece of paper.


STEP 3

Now you need to cut a piece of iron on interface the same size as your pattern piece. This you will iron onto the back of your quilting.
Warning: iron on the quilting side not the interface side it can stuff up your iron.

STEP 4

Here is the fun bit. Now your fabric has a bit more protection and is solid with the interface you can now add all your machine embroidery/ribbons etc. that you want to sew onto the front.

If you are hand sewing the embroidery you may want to sew before you put the wadding on but I'm not really sure on the logistics because I don't do much hand embroidery yet.

I'm going to leave the instructions here tonight there is a lot for you to be doing. I will start up next time with instructions to help you make the inside pockets.

Happy Stitching,
Caitlin

You can find Part 2 and Part 3 of the tutorials here.

Thursday 11 December 2014

Journals

Now I have never been crazy about having a journal because I tried that through university. I would start the year/semester all excited about the weeks ahead. Every tutorial and lecture would be written in and all would be clear.

But I would always end up forgetting about it in 3 weeks. I hated having empty days and felt like I had to write everything in. Some weeks I'd do stuff but forget to write it in so I'd go backwards and fill it and feel absolutely stupid. We all have those days.

About a month or two ago though I started using a method called bullet journalling. I love love love it. You search up how to bullet journal and you find all sorts of cool stuff. I've even dragged out all mum's old stamps and maybe bought some more owl ones for myself.

Pretty stamp box :D


This said I've managed to keep up with my journal this time because I'm looking at the whole week and giving myself jobs. I'm not making it a daily thing I'm making it a weekly need. I'm even planning menus.

Now this said there is a crafty reason behind this post other than the pretty stamps. I was lusting after the kikki k personal planner. The one in lilac since it's such a pretty purple. I also liked the monthly view so I can plan ahead but also that I wasn't held down by weekly views.

I couldn't justify spending $80 on a planner though. Then I did some more research, I worked out that I could buy a cheap $4 ring binder from office works and then make a pretty cover for it. I loved the idea so much I went out that day to buy a binder.


It doesn't look like much but I wanted to turn it into something.


I'm so excited about how it turned out! I will be showing you much more tomorrow when I do up a tutorial on how to make a cover for yourself.

Happy Stitching,
Caitlin

Wednesday 10 December 2014

WIP wednesday 10/12

Well I actually managed to take photos earlier today so I'm kinda excited to get it all up.

 I'm getting much closer to a finish with this one. I need to finish the green at the bottom and add the names and date. This will be done in time for Christmas.


I also have a pile to show you.

 It's looking so pretty :D I'm kinda excited about this pile. I think I have enough made now because I am thinking of pairing them with some cup cozies for the males rather than cloths. I will see how things go.


So many pretty piles :D I just love the colours I am using.

Happy Stitching,
Caitlin

Wednesday 3 December 2014

WIP Wednesday 3/12

The majority of what I've been doing this week is dishcloths. It's only 22 days until Christmas and I'm not sure how many more I can make before then. I haven't been feeling the best this week it's been a very nasty cold where I've been dizzy as soon as I try to stand. I'm finally feeling more normal so I can actually stand up.

BUT I do have an old WIP I want to show you. This should have been completed in November last year. It does kinda have a time limit as it was meant to be for my cousin's wedding last year and I kinda let it slide.

So I'm showing you the latest photos I've taken today. This week I will be putting some focus on this and I want to see if I can get the border all finished.


I'll show you more as the week goes along. Hopefully I will continue to feel better and not get worse again.

Happy Stitching everyone,
Caitlin

Related Posts Plugin for WordPress, Blogger...